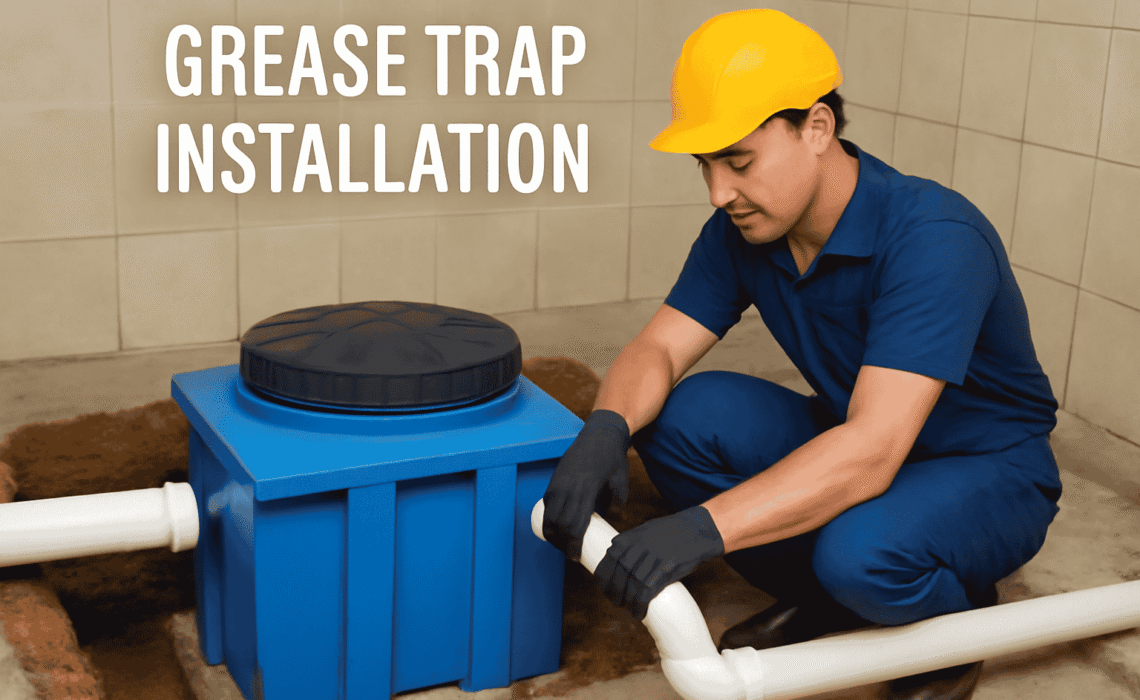
Grease traps are essential components in commercial kitchens, ensuring smooth operations and compliance with environmental regulations. Without a grease trap, fats, oils, and grease (FOG) can clog your pipes and lead to severe plumbing issues.
This guide provides a detailed overview of grease traps, explains the types available, and walks you through the installation and maintenance process. We’ve also included video links to help you visualize specific steps and resources for further exploration.
What is a Grease Trap and Why Do You Need One?
Table of Contents
A grease trap, also known as a grease interceptor, prevents FOG from entering the sewage system. It captures and separates grease from wastewater, ensuring you avoid plumbing blockages and environmental damage caused by grease pollution.
Key Benefits of Installing a Grease Trap
- Prevents clogs and costly plumbing repairs.
- Ensures compliance with local and federal wastewater regulations.
- Protects the environment by reducing grease runoff into water bodies.
- Supports efficient kitchen operations without frequent interruptions.
A properly installed grease trap is not just a requirement—it’s an investment in the longevity of your business.
Types of Grease Traps and Their Pros and Cons
Understanding the different types of grease traps helps you select the best one for your needs. Here are the most common types:
1. Manual Grease Traps
Installed under sinks, these traps operate using gravity to separate grease.
Pros:
- Affordable and simple to install.
- Suitable for small kitchens or low-grease-producing setups.
Cons:
- Requires frequent manual cleaning.
- Limited handling capacity.
2. Passive Grease Traps
These larger units are usually installed underground and handle higher volumes of grease.
Pros:
- Ideal for medium to large-scale operations.
- Requires less frequent maintenance compared to manual traps.
Cons:
- Higher upfront installation costs.
- Cleaning may require professional help.
3. Automatic Grease Traps
Equipped with sensors and mechanisms, these traps remove grease continuously.
Pros:
- Minimizes manual intervention.
- Best suited for high-volume grease production environments.
Cons:
- High initial cost.
- Requires specialized maintenance.
4. Hydromechanical Grease Traps
Compact and efficient, hydromechanical traps integrate flow control and grease separation in small-scale setups.
Pros:
- Quick and straightforward to install.
- Space-efficient.
Cons:
- Less effective for larger grease volumes.
- Limited capacity for heavy-duty use.
Selecting the right grease trap depends on your kitchen’s size, grease output, and budget.
Step-by-Step Installation Guide
Installing a grease trap may seem daunting, but following these steps ensures smooth execution. To aid you further, we’ve included video links for visual support.
1. Choose the Right Location
Pick a spot near grease-producing fixtures like sinks, dishwashers, or fryers.
- For indoor systems, place them under the sink.
- For outdoor systems, choose an area that allows easy cleaning and maintenance access.
2. Collect Tools and Materials
Gather essentials like:
- Pipe wrench and PVC pipes
- Saw or pipe cutter
- Pipe sealing tape
- Measuring tape
3. Verify Local Regulations
Before starting, check your municipality’s plumbing codes to ensure compliance with grease trap installation standards.
4. Prepare the Workspace
Shut off the water supply and clear the area for proper pipe alignment and ease of movement.
5. Connect the Grease Trap
- Cut and measure pipes from the grease-producing fixture.
- Connect the inlet pipe to the fixture and the outlet pipe to the building’s drainage system.
Watch this video for step-by-step pipe connection tips:
6. Test the System
Restore the water supply and monitor the flow. Check for leaks or improper alignment in your connections.
Ensure your grease trap is securely fastened to avoid movement caused by water pressure.
7. Install Add-Ons If Needed
Equipment like flow control devices may enhance grease separation efficiency. Check the manufacturer’s manual for correct usage.
Common Mistakes to Avoid During Installation
Grease trap installation requires precision. Here are typical mistakes to watch out for:
- Incorrect Sizing: Installing a trap too small for your needs will lead to frequent overflows.
- Skipping Local Codes: Ignoring regulations could result in fines or forced reinstallation.
- Poor Pipe Sealing: Improperly sealed joints increase the chances of leakage.
- Neglecting Flow Controls: Without a flow control device, grease separation efficiency drops.
- Using Inferior Materials: Cheap pipes and fittings often lead to faster wear and tear.
Avoid these issues to ensure your grease trap functions seamlessly.
Maintenance Tips for Efficient Operation

Once installed, regular maintenance is crucial for long-lasting performance. Here are some tips to keep your grease trap in top shape:
1. Regular Cleaning
- Manual and passive traps need cleaning every 1-3 months.
- For optimal results, hire professional grease removal services.
2. Frequent Inspections
- Check for accumulation, leaks, or cracks.
- Be attentive to odors, as they can indicate system inefficiencies.
3. Use Biological Additives
Add approved products to break down grease and reduce odor buildup.
4. Monitor Grease Levels
Overloading compromises your grease trap’s efficiency.
5. Schedule Professional Services
Set up annual inspections to catch potential issues early. Consistency with these practices will extend your grease trap’s lifespan.
Conclusion
Grease traps are a vital investment for any food establishment. They protect your plumbing, ensure compliance with regulations, and prevent environmental damage. By selecting the right type, following a systematic installation process, and maintaining your system regularly, you can avoid costly repairs and downtime.
With proper knowledge and tools, installing and maintaining a grease trap is simpler than you might think.


No Comments